Alun Rees’ Surface Lure and Mount
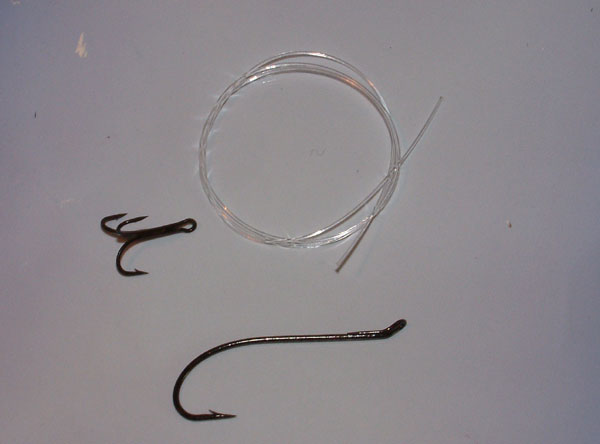
1. Initially, to tie the surface lure, we need to make a Secret Weapon type mount. To make this mount, we need a suitable treble, a suitable single and a length of stiff monofilament.
2. After placing the treble in the vice, we take a few turns of tying silk to lock it onto the hook.
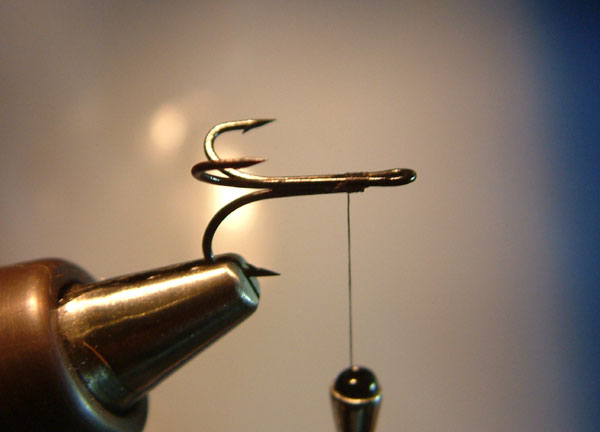
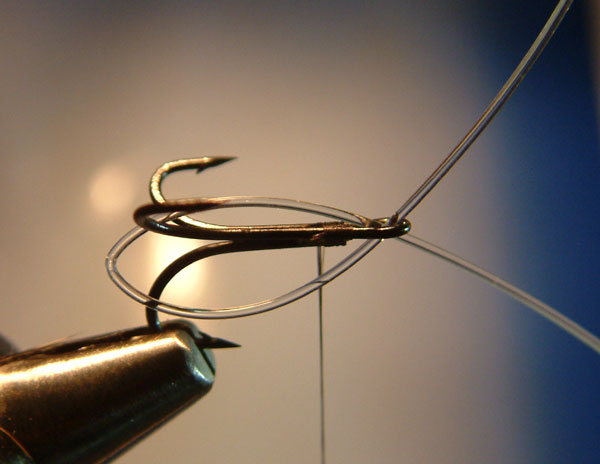
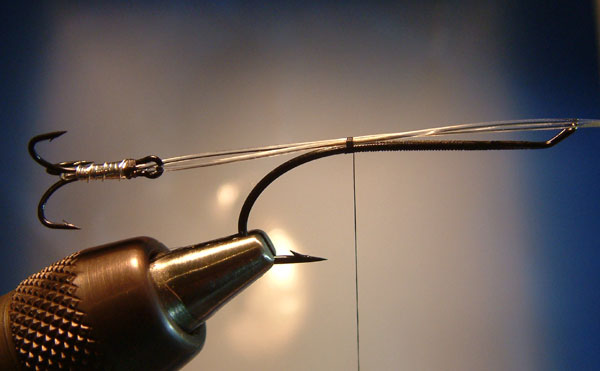
3. Taking the monofilament, we pass it around the rear of the treble hook, passing one end up through the hook eye and the other down through the hook eye.
4. Use the tying silk to secure the monofilament to the hook shank as far as the hook points of the treble. At this stage, tie in a piece of silver wire and return the tying silk to the hook eye. Here we need to tie in a length of flat silver tinsel.
5. Form a body using the flat silver tinsel and rib with the silver wire.
6. Whip finish and varnish. You have now completed preparation of the flying treble.
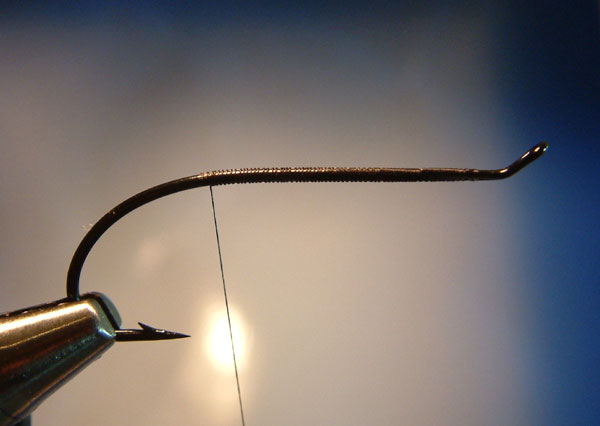
7. The next stage is to attach the flying treble to the front hook. Place your selected single in the vice and using the jamb knot, wind the tying silk in close touching turns to the hook bend.
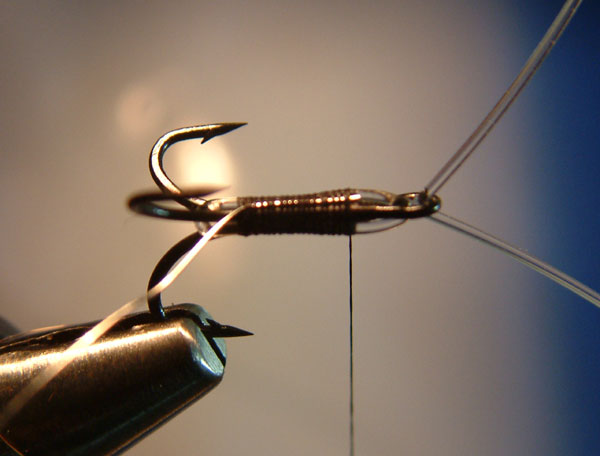
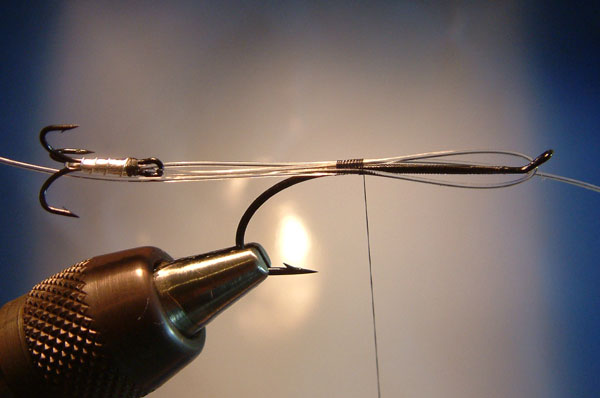
8. Offer up your prepared treble and catch it in using the pinch and loop method. Measure for alignment and length. A word of caution at this point. If your flying treble is set too far back, there is a tendency for it to wrap around the hook and therefore negate its effectiveness. If it’s too short, once again, it’s effectiveness is reduced because of it’s proximity to the front hook.
9. After aligning and measurement, take one of the trailing ends of the monofilament and pass it through the hook eye. After this is done, pull it toward the back of the hook and secure in place with a couple of turns of tying silk.
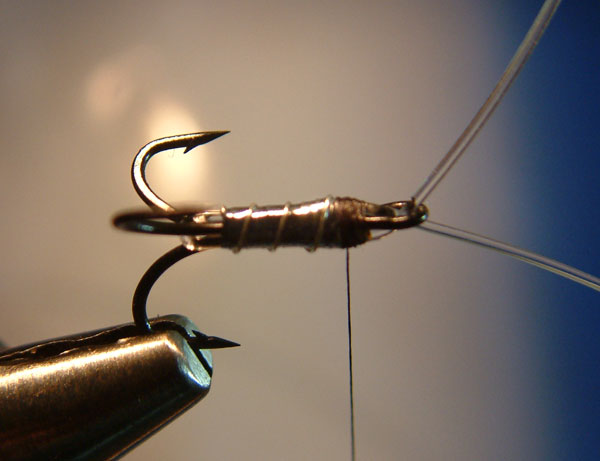
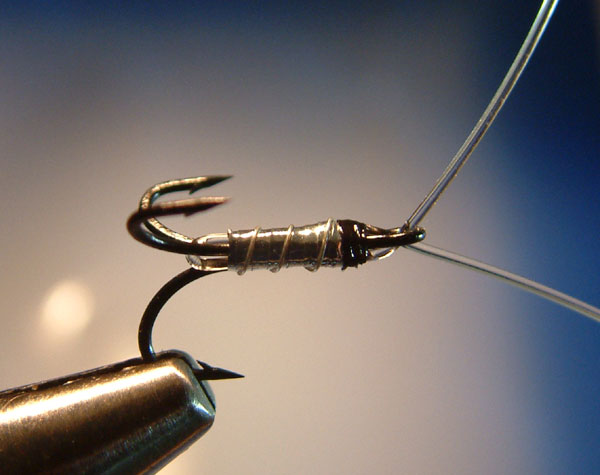
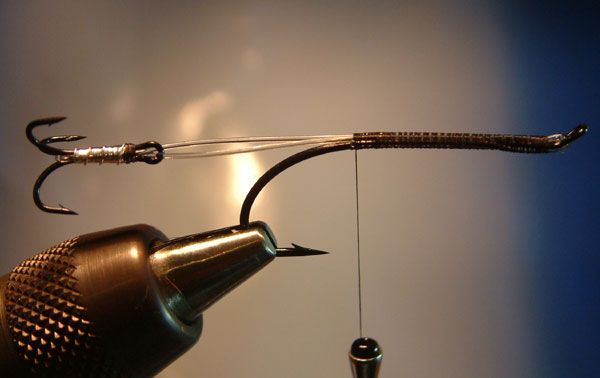
10. Continue to wind the tying silk towards the hook eye, securing the monofilament as you go along. Once suitably secure, cut off the waste ends of the monofilament and tidy up. We have now completed the ‘Secret Weapon’ mount. At this point, we can make a decision; we can decide to continue tying the fly or tie off, place the mount to one side and make another mount. If I know I’m going to be tying a lot of surface lures, I will make up the mounts beforehand and then tie the flies. It does simplify the task.
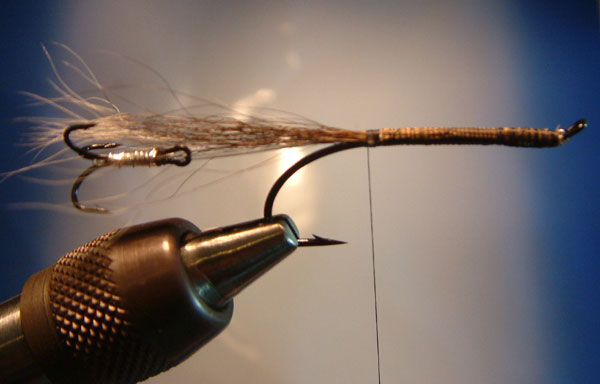
11. To continue with the fly, we next need to tie in a small bunch of natural squirrel tail. This needs to stretch as far back as the treble hook and be tied in as far as the eye of the front hook. This way, we keep a uniform diameter to the body of the front hook which will make our next task easier.
12. Taking a small bunch of deer hair, we offer it up to the hook and take two loose turns of tying silk around it.
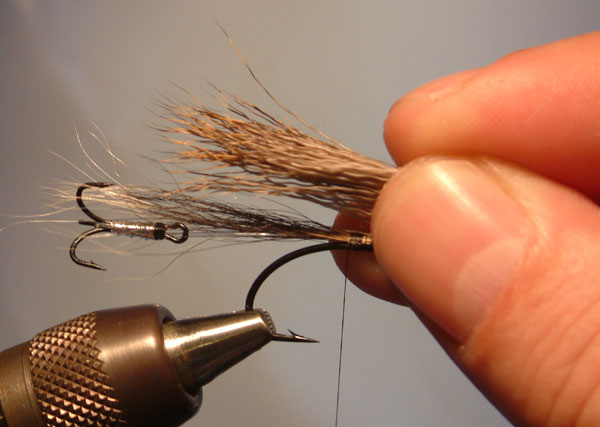
13. Once we have taken the two turns of tying silk, we simultaneously leave the deer go and pull the tying silk tight. This causes the deer hair to a) spin around the hook shank and, being trapped by the tying silk, b) causes it to flair out. A few wraps of tying silk are then taken through the deer hair to secure it. Continue to add more small bunches of deer hair to the hook shank in the same way until we are about a quarter of an inch away from the hook eye. Once this is done, we whip finish, varnish and tie off.
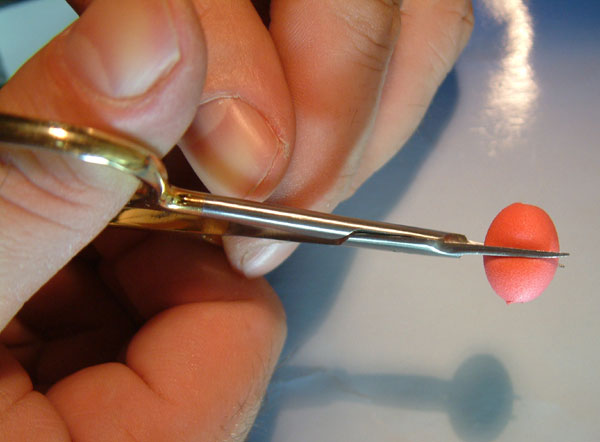
14. To form the head, we use a site bob cut in two.
15. Therefore, from one site bob, we can make two surface lure.
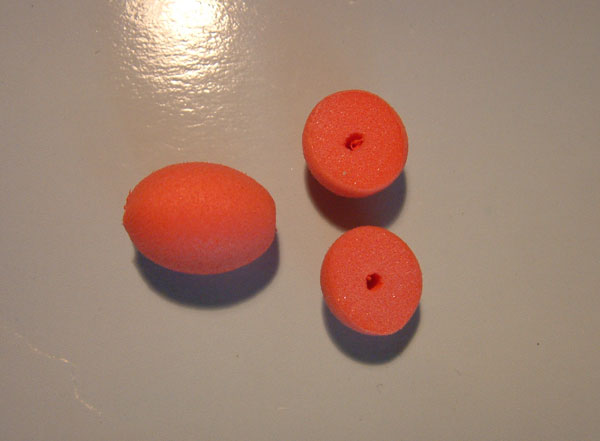
16. Using a drop of superglue, wet the exposed hook shank and then slide on one half of the site bob.
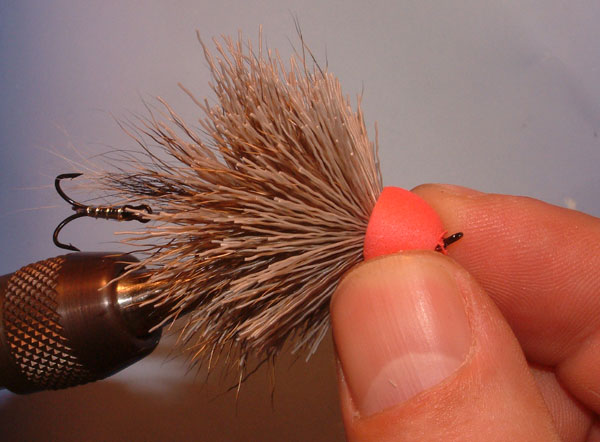
17. Hold in position until dry and you should see you surface lure at last take shape.
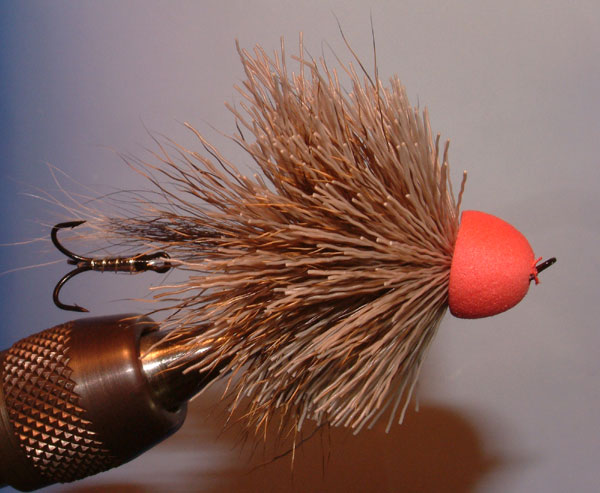
18. This is the most critical part of the operation; shaping the body. The mantra I use at this stage is like a carpenter; measure twice, cut once! If you make a mistake here, there is a possibility that you could ruin the overall effect of the fly. It does help as well if your scissors are sharp!
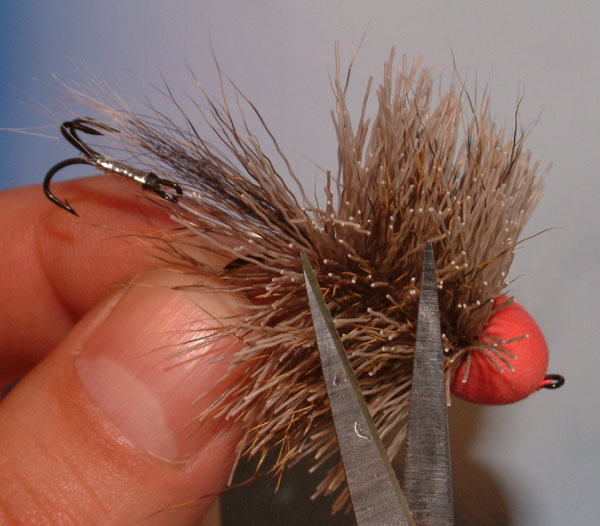
19. Instead of cutting big chunks of deer hair off, try to do a little bit at a time. This will give you the opportunity to minimise any overzealous scissors work and hence minimise any mistakes! Each time you cut off some of the hair, stroke it all forward and twist the fly around, looking at it from all angles. This helps you to gauge where to cut next and helps develop the profile of the fly.
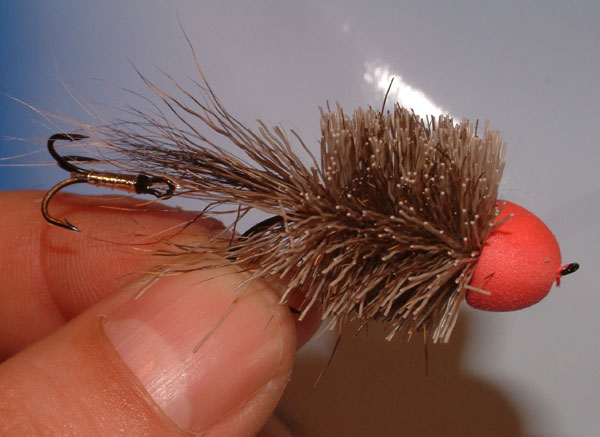
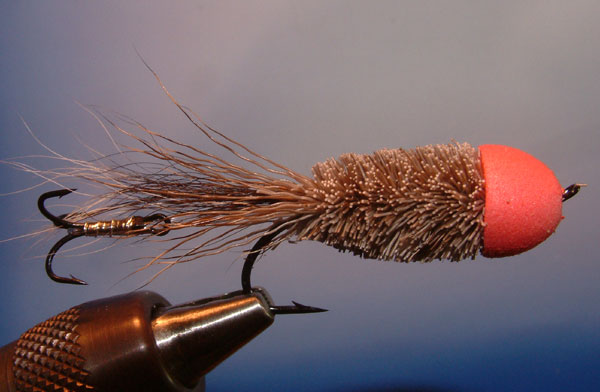
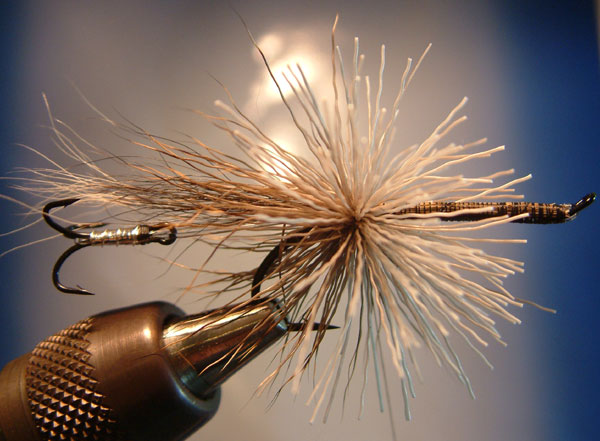
20. Eventually, you’ll end up with the finished Surface Lure! Your first attempts might not be as neat as this one, but with practice, it’ll become second nature. Besides, the sole aim of the Surface Lure is to make as much disturbance as possible. The scruffier the better some might say!