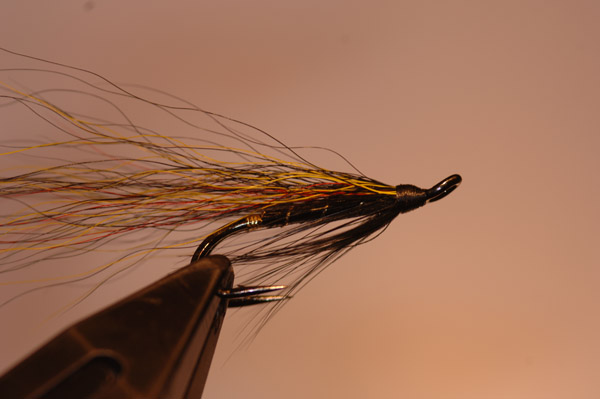
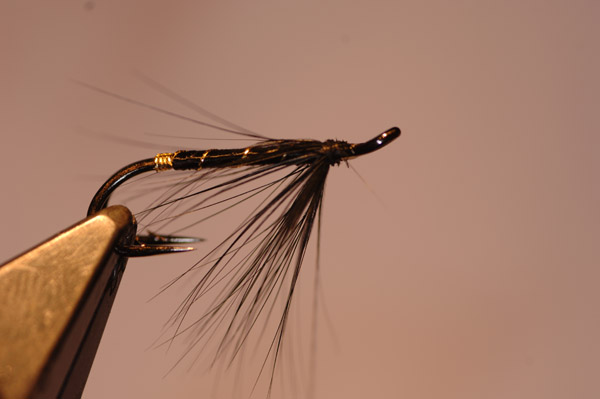
Willie Gunn Double
This is a great all-rounder of a pattern and works well on the River’s Usk and Wye.
- Hook: Double size to suit water conditions. This has been tied on a Ken Sawada size 8.
- Tag: Gold oval tinsel small or fine depending on the size of hook.
- Rib: Gold oval tinsel small or fine depending on the size of hook.
- Body: Black floss.
- Hackle: Tied as a collar or beard depending on the height of water. The sample shown has a doubled collar Hackle.
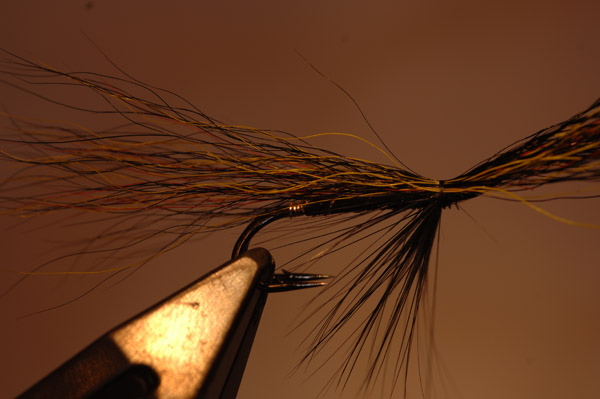
- Wing: Mixed black red and yellow bucktail or squirrel hair. The hair used depends on the flow of water as it will affect the way the fly fishes. i.e. strong current stronger hair e.g. bucktail.
The sample shown is tied with bucktail.
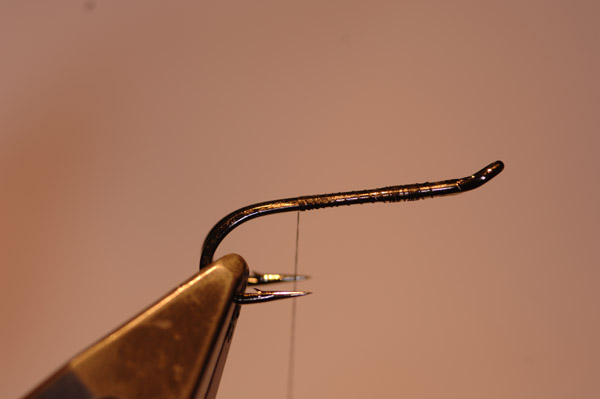
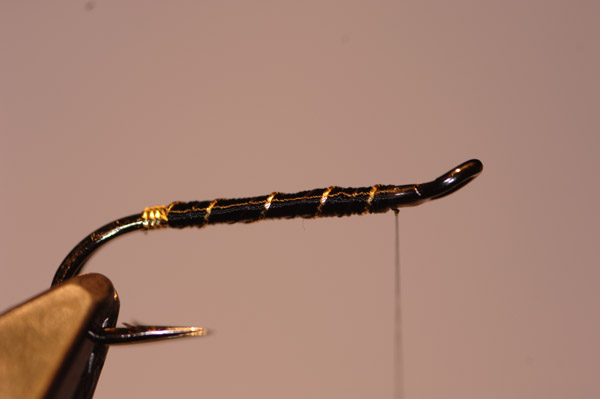
Firstly attach your tying silk to the hook with a jam knot and take it to the rear of the hook shank.
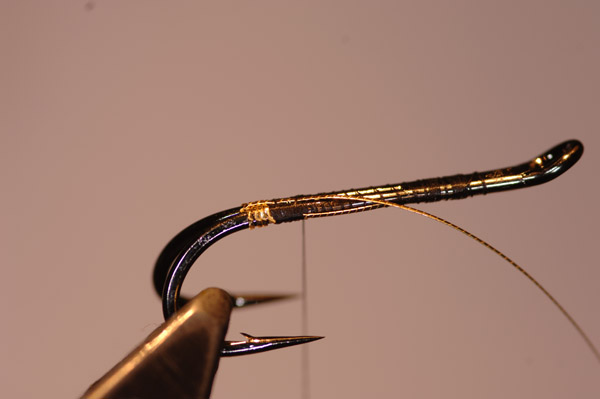
Attach the oval tinsel with turns of thread. Note you will need to do this against the side of the hook shank as the rib will pull free from under the hook shank as it will fall into the hollow created by the two hook shanks themselves.
Wind backwards in four touching turns to create your tag. Now draw the oval tinsel under the hook and back up in between the two hook points and back over the hook shank and tie in up towards the eye with open turns of silk.
This will do two things. 1. It will ensure that all material that the tag holds back will be secure. 2. It will ensure you maintain an even underbody on the hook shank.
Pull the ribbing material back and tie down again with open turns to the point where it meets the tag.
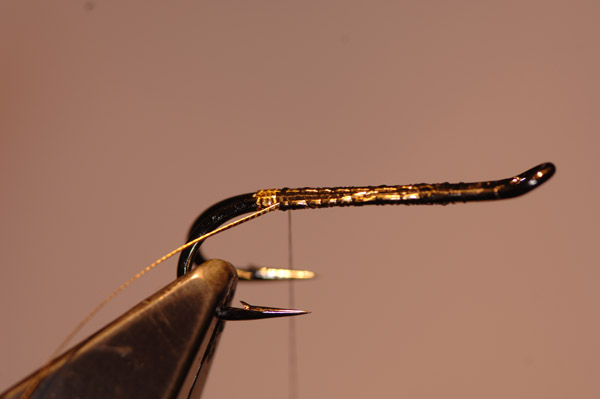
Attach the silk floss and wind on the body in even touching turns and tie off with the tying thread. Now wind on the oval rib in open turns no more than five. Tie off and remove waste.
Take a black cock hackle and double the fibres over so that they are on one side of the stem.
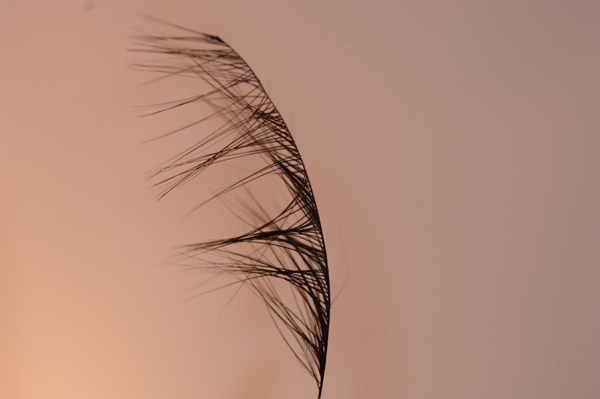
Tie in this hackle at the tip end with the fibre pointing back over the top of the hook shank. Do not remove the waste at this point as it will help when winding on the hackle.
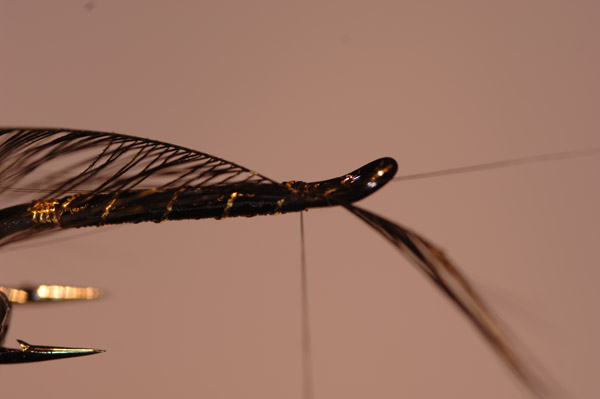
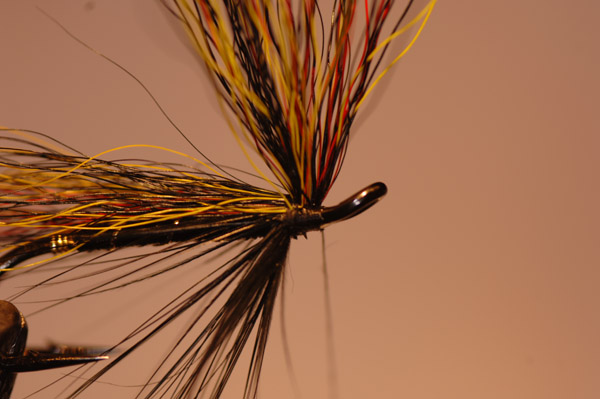
In touching turns, wind on the hackle from the back towards the eye. Three turns are more than enough. Now tie it off and remove the waste.
 Take your thumb and forefinger of your right hand and stroke down the fibres of the cock hackle downwards. This may take a number of attempts to get all the fibres down. then secure with a couple of turns of silk to ensure they remain in place.
The hackle points should only come down to the point of the hook but I like plenty of movement in my flies and I am quite happy with the length of these but please do not report me to the fly police as I will have to plead that it is my fly and I can do what I want.
To build a mixed colour hair wing you have to now decide what hair you are going to tie with.
I have used bucktail in this one.
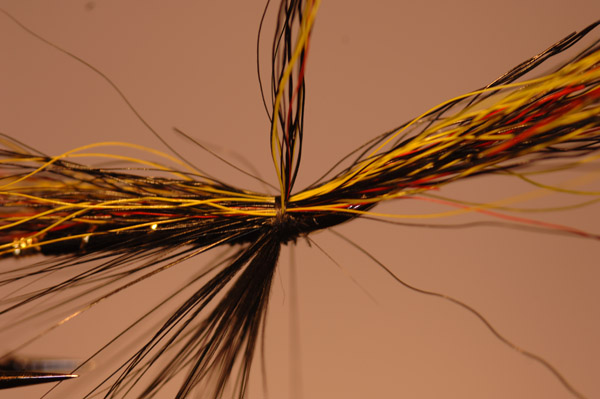
The mixture is half black and a quarter each of red and yellow bucktail. I mix these colours by hand so that you do not get a block of any particular colour.
Now once you have gathered enough to make a single wing, half it as inevitably you will have too much material. I give this advice to anyone even if they have been tying salmon flies for a while as it is always easier to add than take away.
Salmon flies need to have plenty of movement and look translucent in water. Remember though the fish normally look up and through the fly.
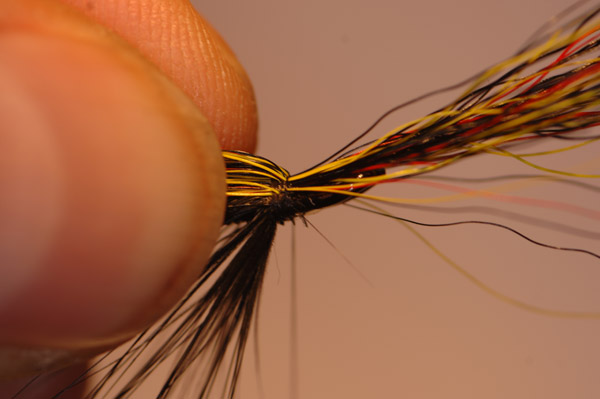
Now tie the bunch of hair on top of the shank with an initial pinch and loop and two further turns of silk.
Many who tie flies for salmon will bind down this bunch of hair but I would suggest that you tie the wing down using locking turns. This is done by lifting a few hairs up and putting a single turn over the remaining hair.
Repeat this process until you have secured all the hair and the silk is in front of the wing.
When you have completed these turns the waste will stick up and can be trimmed easily.
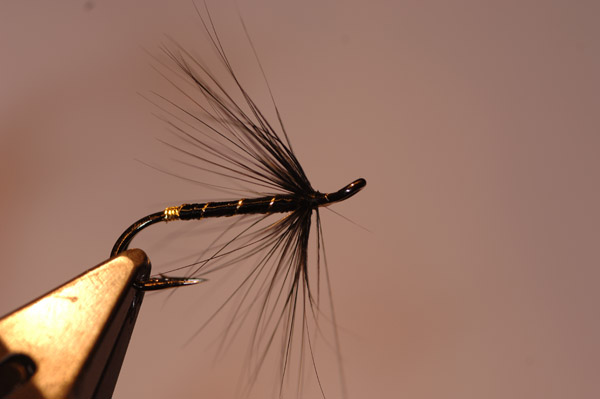
Cut the waste away and you will be left with a natural slope from the wing towards the eye of the hook.
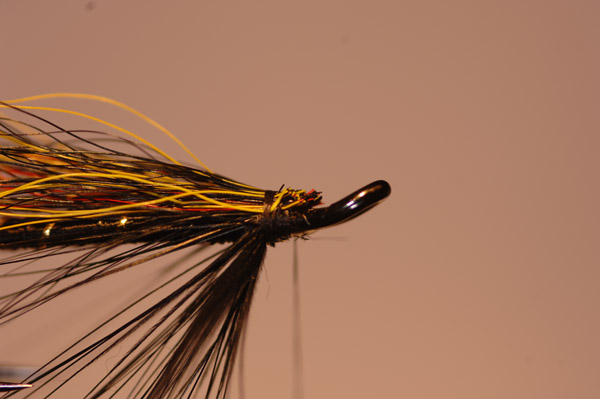
Bind your silk over these waste stumps forming a neatly shaped head.
This is the strongest method that I know of for securing a hair wing properly. If you want to test it then tie a fly the way I have described above and then one without locking turns. Then take hold of the ends of the wing hairs and pull and see how many come free from each. The choice, of course, is yours but watch out for the fly police!!!!!!!

Whip finish once the head has been formed and varnish. If you want you can tie some flash into the wing but I would suggest that it goes in before the hair but please do not put to much flash in as I believe that too much of a good thing is bad.
Tight lines.