The Shuttle or Parallel Weave
This article is not about a specific pattern but it is all about a versatile body weave which can be used to form two-tone bodies very quickly(once you have mastered the technique and practised it lots) which still have a segmented appearance.
I would suggest that you get used to the technique slowly and on the biggest hook that you can get hold of.
The following sequence of photographs includes the application of cocktail sticks to enlarge the body of the hook shank.
A classic pattern that is often tied with this technique is the Polish Woven Nymph which is detailed on this website.
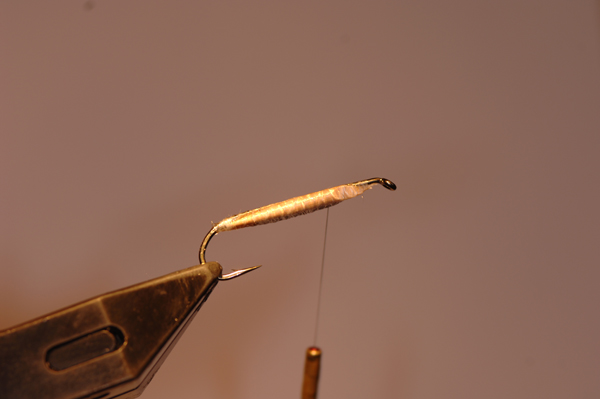
Firstly select your big hook and put it in the vice and attach a couple of cocktail sticks either side of the hook shank.
You will need to shave the blunt end down to a taper at the eye end of the shank. Whip it on tight and add some super glue to make sure that once fixed it will not turn around the shank.
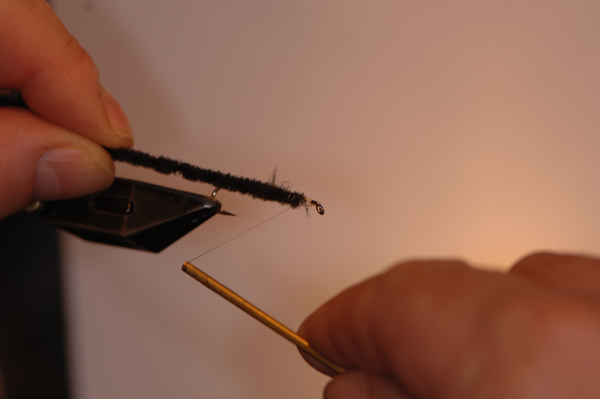
Now with the hook point on the underneath of the fly attach the weaving material that you want to be seen on the top of the hook on the side closest to you. In this case, I have used two coloured chenille with the black being on top.
It is important that it is attached to the side and not underneath or on top of the hook shank. Just as important is the need to keep the body even.
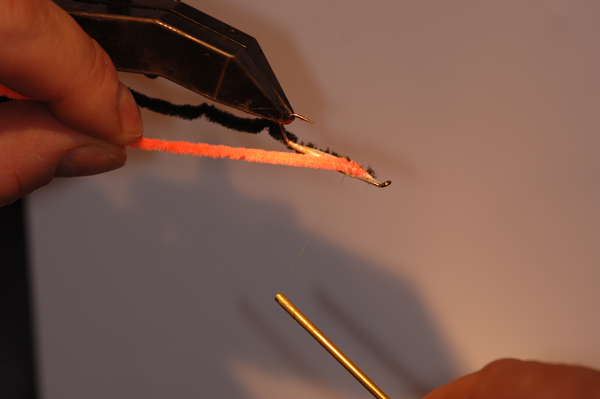
Now invert the hook and tie in the lighter underneath material as you did with the top material.
Once that is done bind down the weaving material and test it to make sure that it doesn’t pull out because if it does whilst weaving it will be tears before bedtime. I know I speak from experience. Once you are happy, whip finish and remove the tying thread as it will need to out of the way.
Now turn your vice so that the eye points directly at your chest with the hook inverted upside down.
Ensure that the dark upper body chenille is on the right side as you look at the hook and the lighter underneath is on the left.
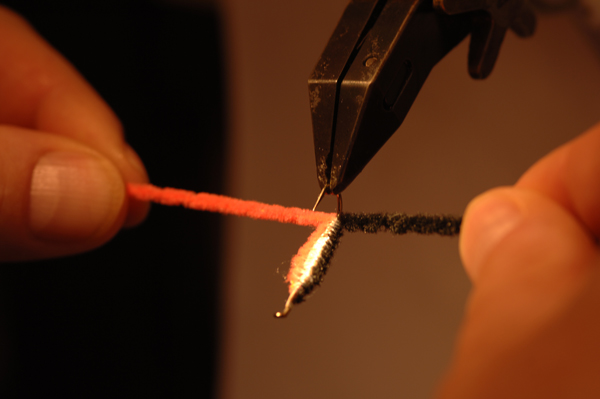
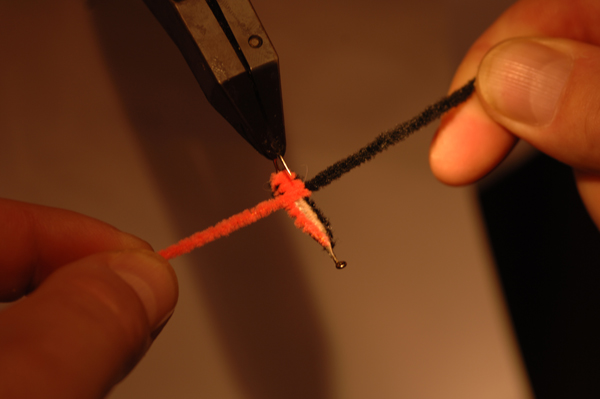
Now take hold of the chenille with the black in the right hand and the orange in the left. Hold them about three to four inches from the hook shank. Once you start you can not let go of the material.
Your hands will be crossing each other throughout this tying so give yourself plenty of room to work.
Before you start, ensure that the tying thread is close at hand ready to secure the chenille once you have completed your weaving.
Hold the chenille taught and you must maintain the same constant tension throughout the weaving. This is the only real difficult part of this technique.
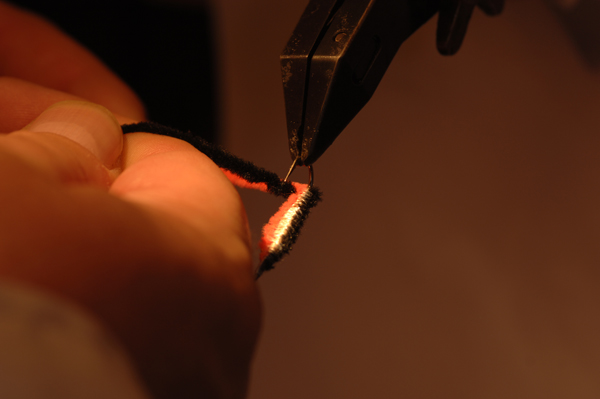
Take the right-hand black chenille and pass it under the hook shank as you are now looking at it and slightly lift it up when it is on the left side.
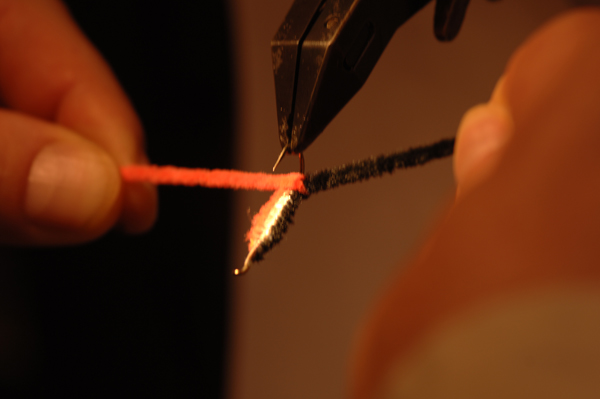
Now take the lighter orange chenille and move it to the right side of the hook shank over the top of the hook shank as you are looking at it.
Your forearms should now be crossed. Now bring the black chenille back under the hook shank on to the right side of the hook.
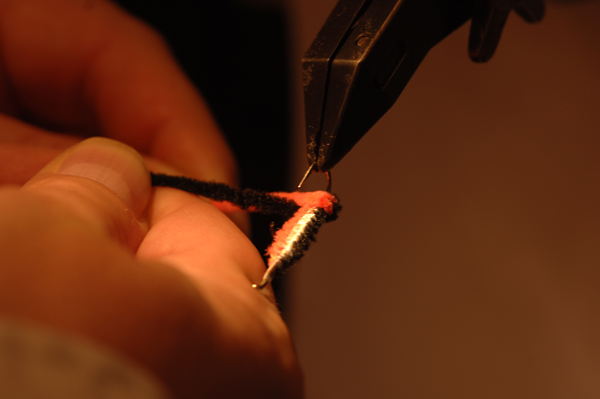
Now take the black chenille in front of the lighter orange chenille and lock it against the hook shank.
The orange chenille now comes over the top of the hook as you are looking at it and returns to the left side. Both chenilles have travelled one width of material forward on the hook and are in their original positions.
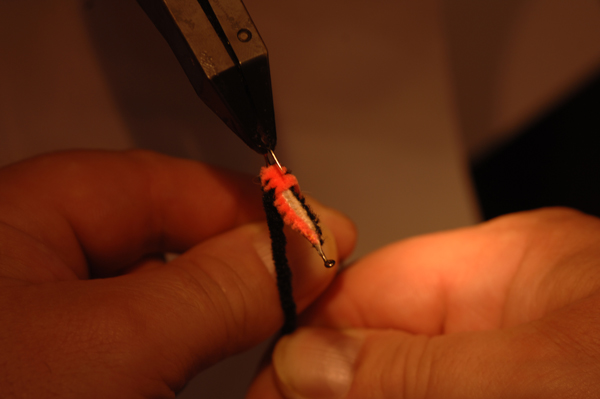
The process is now repeated down the length of the hook shank as shown below.
Work your way all the way down to the shank. When you have reached the point you want to finish take the bobbin that you have kept close and keeping the chenilles in the left hand being pulled down, attach the silk with a jam knot with the right hand and secure the chenille to the hook shank.
If you want to continue practice just unwind the turning in the same but reverse manner that you made them. By doing this you will develop the practice and muscle memory to get a quick grip of this technique.
To tie an actual pattern with this technique go to the Woven Polish Nymph tying on this site.


