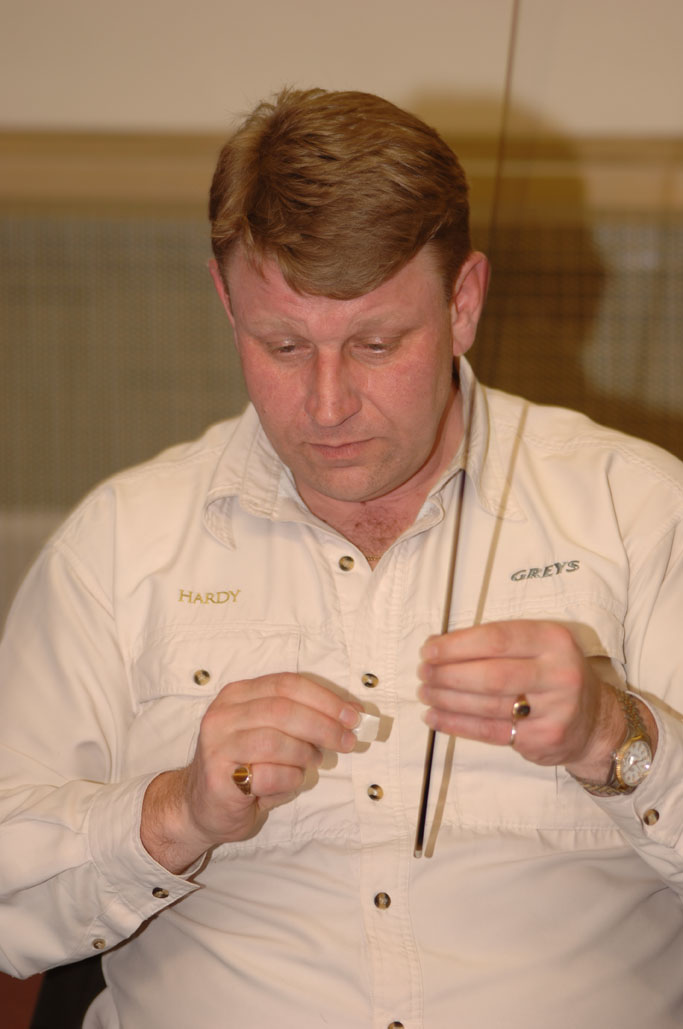
Rod Building Masterclass with Danny North
In the below videos, Danny North takes us through the detailed steps needed throughout the rod building process. For a written summary of the steps and details, scroll down to the bottom of the article.
Step by Step Guide to Rod Building
1. Fitting the Handle and Reel Seat
- Build up blank diameter with masking tape to make a perfect fit to the inside diameter of the reel seat barrel. Be careful to leave enough room for seat adhesive.
- Next, bore out cork handle to right diameter; again make sure you leave enough room for adhesive. Apply adhesive to masking tape, then slide reel seat on, be sure to clean off excess adhesive.
- Next, cover the blank in adhesive for the cork handle, push cork handle slowly down over adhesive twisting cork handle as you push, this will make sure that the adhesive is coated evenly under the handle.
- Again, clean off any excess adhesive, leave to dry for 24 hours then slide the winding check down blank to cover the top of the cork handle.
2. Mark the Ring Spacings
- To do this use masking tape.
3. Rings and Fly Keeper
- Position the keeper in line with the reel seat, hold the keeper ring in place with a small piece of masking tape, working from beyond the keeper ring foot, wind the thread up towards the foot and then slowly onto the foot.
- Wind thread up 2/3 of the foot then put your loop in, make the loop out of some 6lb nylon, lay the loop on top of the whipping then wind your thread over it until you reach the top of the foot.
- Cut the thread and push the cut end through the loop, gently pull the tag ends of the loop so that you are dragging the thread under itself.
- Cut off the thread that you pulled through tight to the finished whipping, then repeat on the other end of the keeper.
- Position the butt ring in line with the keeper and reel seat, and repeat the process of whipping, after each ring gently re-align.
- Continue with the rest of the rings, when you get to the tip ring, secure it with super glue or rod building adhesive, making sure that you create a key for the tip ring to stick to, do this by scraping off some of the lacquer on the blank.
- After all of the rings are on, make sure that you are happy with the ring alignment.
4. Varnish the Whippings
- Mix the varnish as accurately as possible, 3ml Part 1 to the same amount as Part 2, mix thoroughly and wait 3 minutes for the bubbles to clear in mixed varnish before applying to thread.
- Apply a thin coat to whippings to seal making sure that you turn blank 180 degrees every 30 seconds to allow the varnish to dry evenly, this needs to be done for at least 2 hours.
- If bubbles appear in the varnish flash a lighter for a second or two directly onto the varnish this will disperse them.
- Leave for 24 hours then re-varnish giving the whipping a slightly heavier coat to give you a high gloss finish.
- Leave for 72 hours in a warm area to cure.


