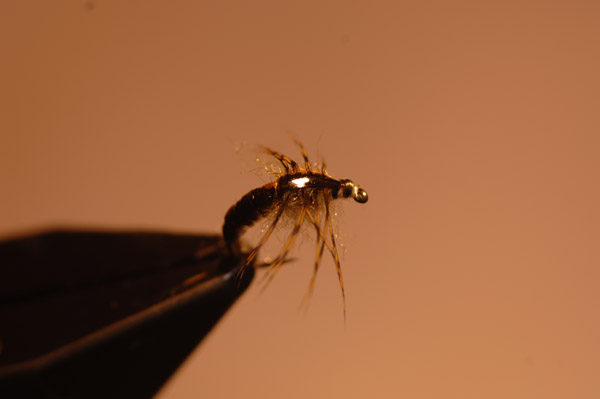
Ammonite Nymph
This is a generic pattern which is attributed to Steve Thornton of Virtual Nymph. A fantastic and really talented tier.
The materials required are as follows:
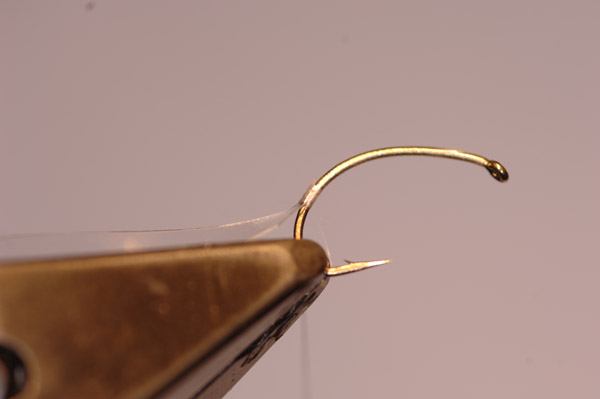
Hook: Grub hook such as a B100 or if you want to change the profile I sometimes use a Tiemco 200R which is a little less severe in the bend.
- Underbody of lead wire tied in a pyramid.
- Clear Flexi skin
- Tan coloured silk floss.
- Partridge neck hackle.
- Dubbing to match overall body colour.
- Uni nylon tying silk coloured white or similar.
- Dark Dye pens to suit fly colour.
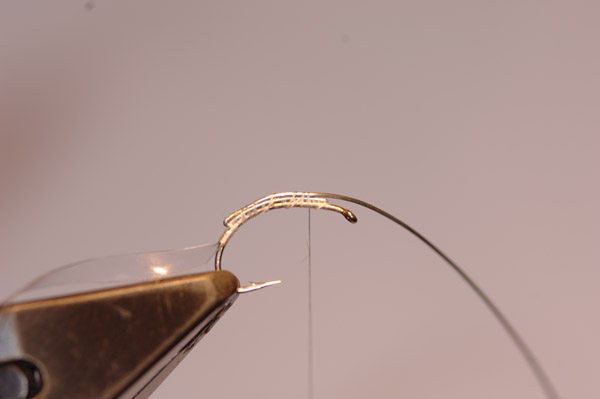
First off attach the tying silk to the hook shank with the use of a jam knot.
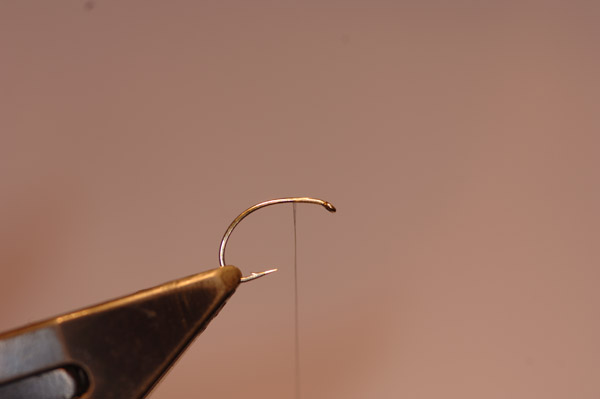
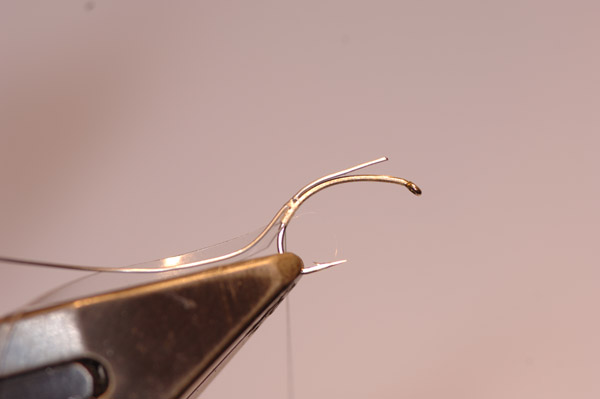
Now wind the silk down the hook shank in touching turns to beyond the bend and tie in the clear flexi skin. This is done by cutting a 3 mm wide strip of flexi skin and at one end cut it at an angle and tie in this small corner with the silk with the long sidewinding on as the leading edge.
Now take the lead wire and tie this in on top of the hook shank and bind it down.
Reverse the lead wire and draw it back to the rear of the hook. Continue to do this back and forth shortening the lead wire each turn building up a pyramid of wire.
Bind the whole lot down filling in the gaps with the tying silk.
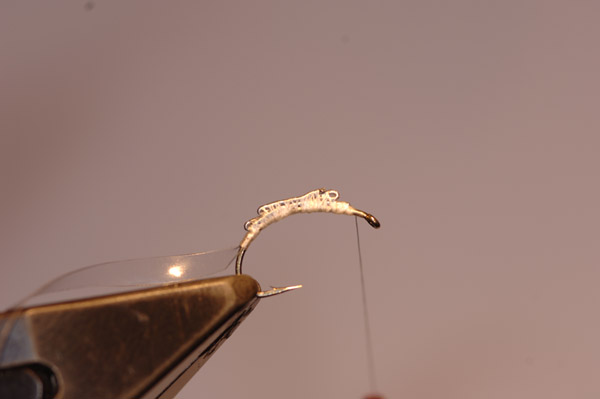
Smooth off the body with tying silk so you have a firm foundation on which to tie your fly.
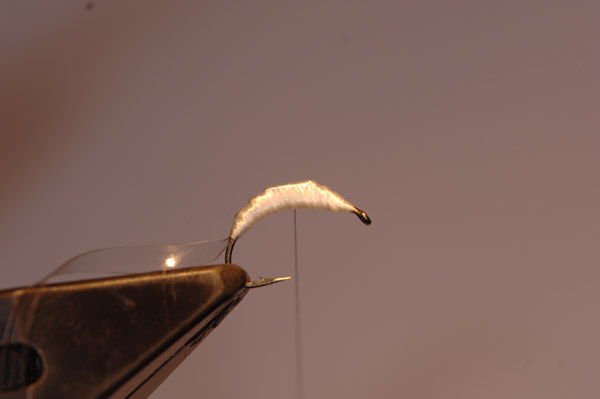
Take the silk to the midpoint of the body and tie in your tan coloured silk floss. This floss colour can be changed to create any colour of fly that you want. It is your fly the choice is yours.
Now cut off the remaining floss again only bringing it to the midpoint of the fly as shown above.
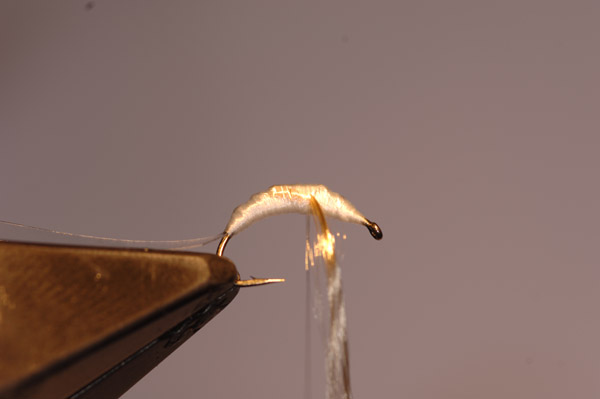
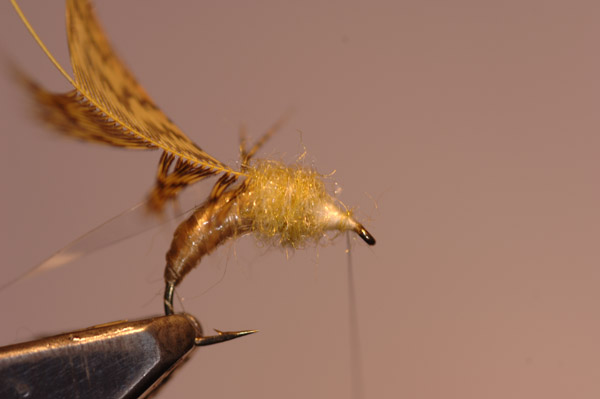
Now wind on the clear flexi skin in turns where 50% of each turn covers the last turn up to the midpoint again.
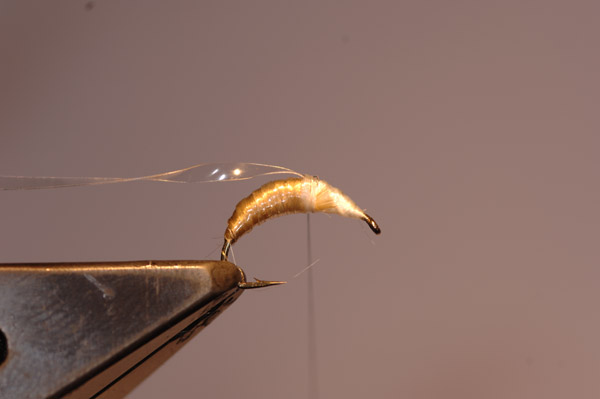
Ensure that when you tie off the wraps of flexi skin that you then manipulate the remaining material so that it lies back and central to the body of the fly as seen above. This spare material will form the thorax cover.
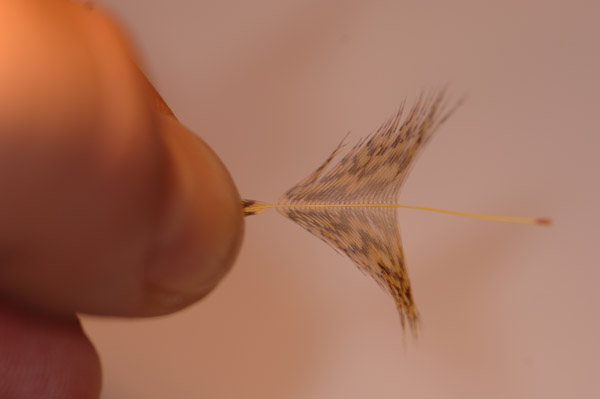
Now take a neck feather from the neck of an English/Gray partridge skin and draw back the fibres from the tip as seen below.
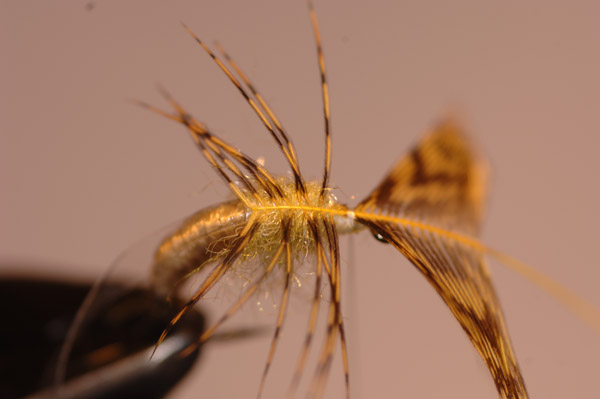
Take this feather and tie it on to the thorax immediately in front of the flexi skin. Ensure that it is tied in concave up i.e. upside down ready to fold over.
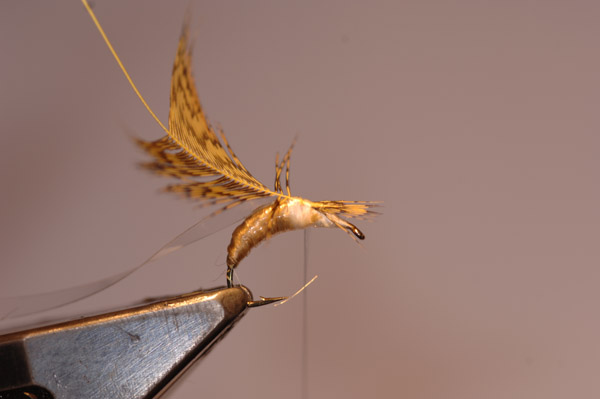
Remove the waste from the tips so that when you tie it down it will not hang over the front of the hook eye, then dub on your dubbing of choice.
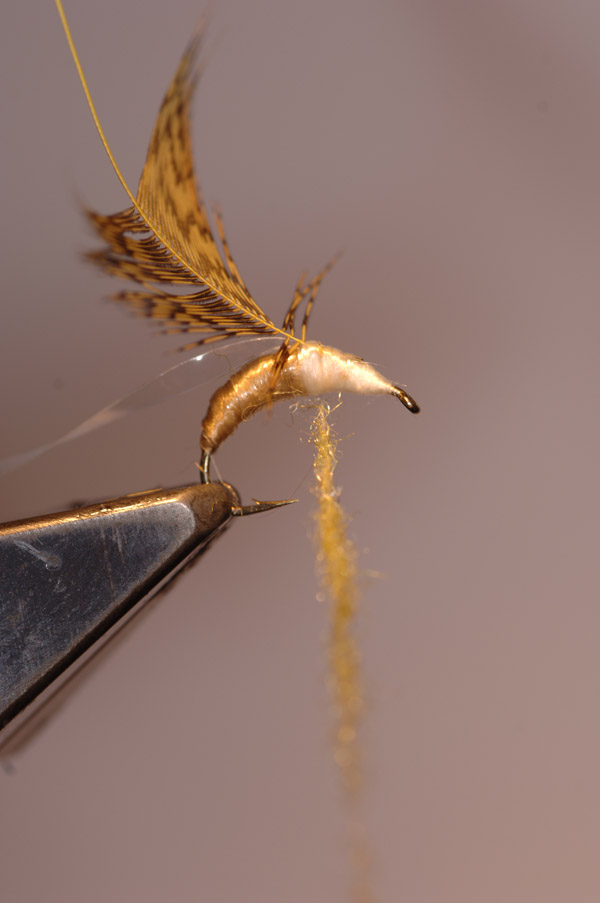
When the dubbing is wound forward to the head brush it with a soft mascara brush to draw the fibres down as under legs.
Now draw down the partridge feather and tie it down.

Remove any waste and then tie down the flexi skin over the top of the thorax. In the photograph, you can see that I have been heavy-handed and stretched the skin. If you do it right then the skin will force the partridge fibres downwards.
Now Tie of the silk and take a Pantone pen and dye the skin on the top in one smooth stroke.
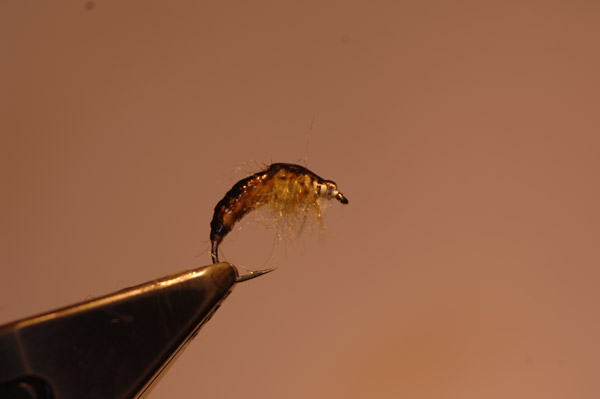
Job done. A little cracker for either river or still waters.

Tight Lines